Accueil > Support > Installation and Downloads > Installation and activation
Installation and activation
1- New users : How to install your software
You have just received or dowloaded the DVD of your simulator. In order to use it you will have to activate the product.
See : How to activate a software license
![]()
![]()
Instructions
INSTALL THE SOFTWARE ON EACH WORKSTATION
Collecting information for the software key
In order to use your simulators you must activate your license server. For this, send the C2V file to : support@sinapseprint.com.
To generate the C2V file, run the application SPS_RUS (Remote update System) located in the folder C :\SgiTools\HASP (a shortcut is available in Sinapse Print Simulators\protection).
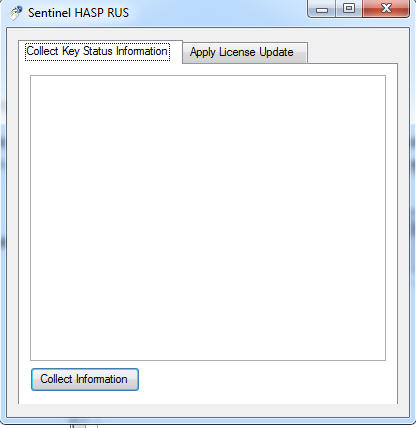
Save the C2V file with the name of your company/school, the simulator and version. (ex : Smith School-Shots-5.2)
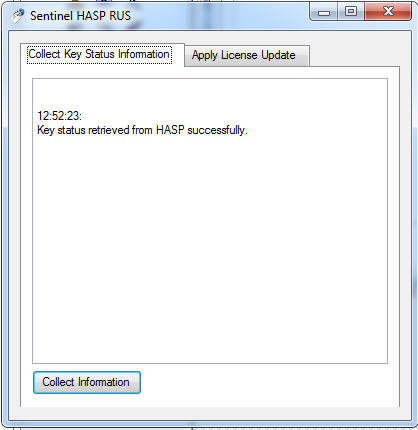
- key status has been retrieved successfully.
- Send by email the C2V file to Sinapse
A message shows that the key status has been retrieved successfully.
Send by email the C2V file to support@sinapseprint.com
(email subject : simulator activation request)
Activating the license key
Once you have received the V2C file from Sinapse, run again the application SPS_RUS, load the V2C file received and click on "Apply Update“ to activate your simulator.
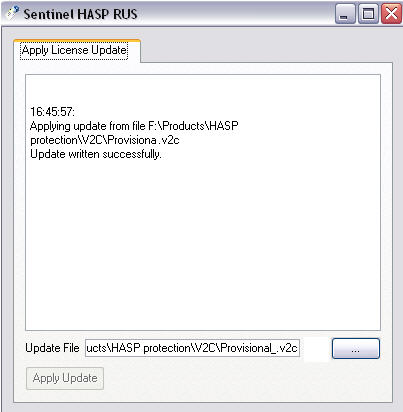
- ACTIVATING THE LICENSE KEY
- Click on "Apply Update“ to activate your simulator
2- Existing clients : How to update your software
You have just received the new version of your simulator or you have downloaded and burnt it. In order to use that new version, the HASP software key previously installed must also be updated.
See : How to activate a software license
![]()
![]()
Instructions
INSTALL THE SOFTWARE ON EACH WORKSTATION
In order to be able to use your simulator you must update your license server with the V2C file attached to the email you have received from Sinapse.
Note : Activating the new version will automatically cancel the version previously installed.
3- How to check your license terms
Admin Control Center is installed as part of the Sentinel HASP Run-time Environment driver installation process. To launch the Admin Control Center, type http://
See : How to manage Hasp Key Software
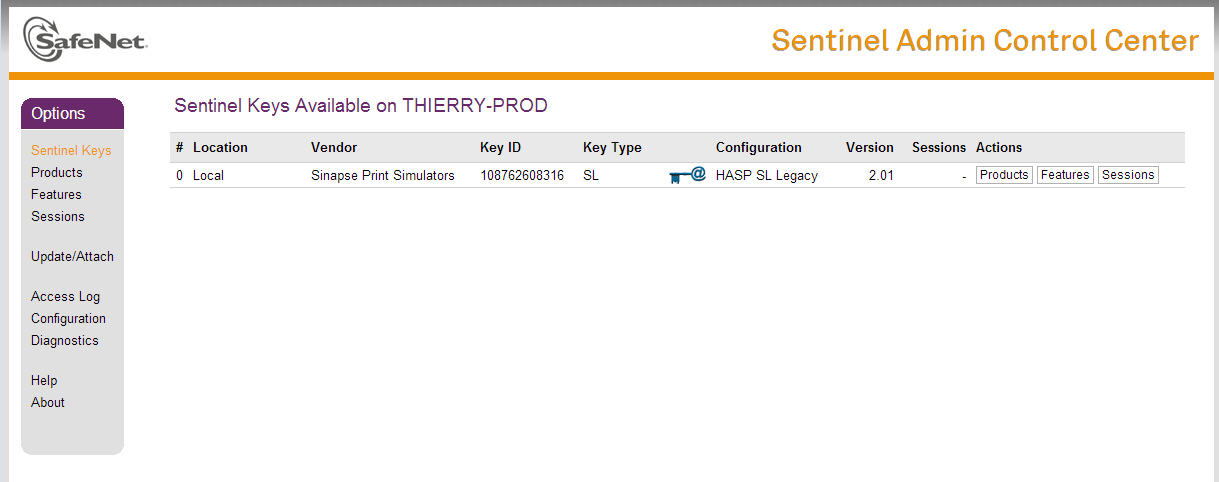
You have to activate the license.
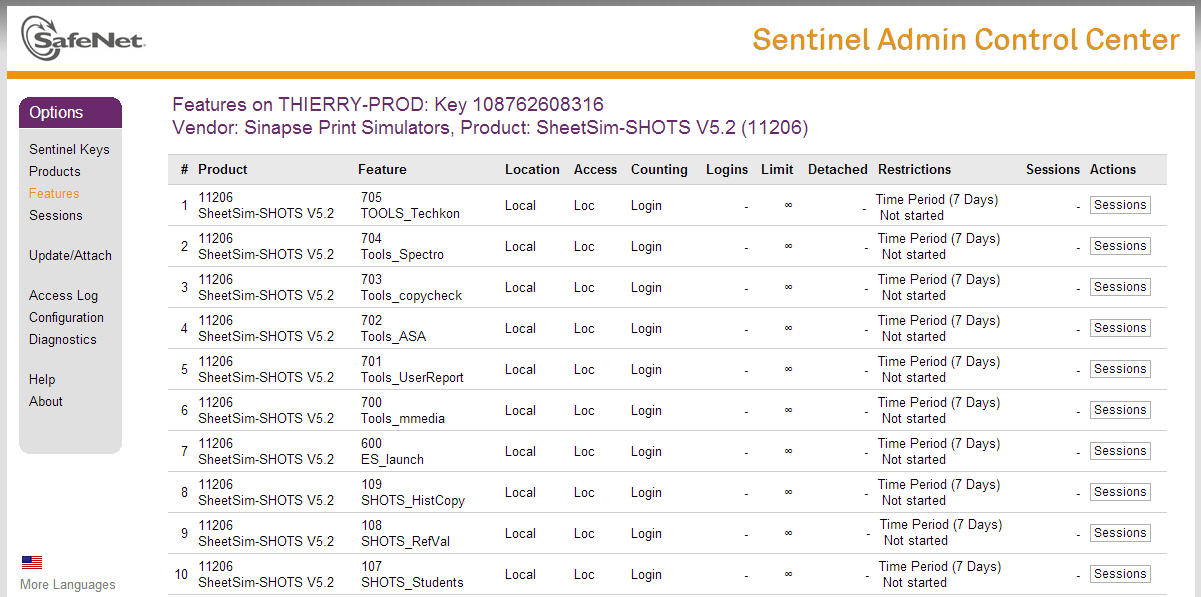
The Admin Control Center enables you to monitor the following :![]() All the HASP keys that are currently available on the network server, including their identity, type, and location ;
All the HASP keys that are currently available on the network server, including their identity, type, and location ;![]() The number of users currently logged on a HASP key, and the maximum number of users allowed to be simultaneously logged on that specific key ;
The number of users currently logged on a HASP key, and the maximum number of users allowed to be simultaneously logged on that specific key ;![]() The features to which each HASP key allows access and any restrictions that apply to the features ;
The features to which each HASP key allows access and any restrictions that apply to the features ;![]() The users who are currently logged on a specific HASP key, including detailed login information.
The users who are currently logged on a specific HASP key, including detailed login information.
Checking the Products license terms
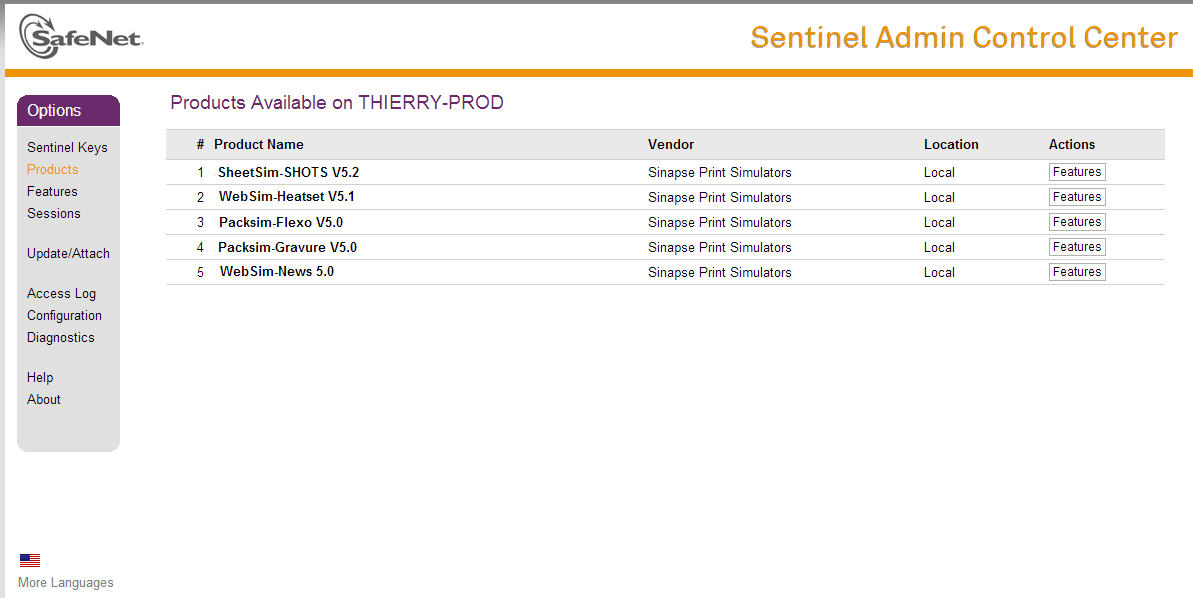
For the server key, click on “Products”. It displays the products available on the computer.
If you click on “Features”, it will display the features available and the licensing terms.
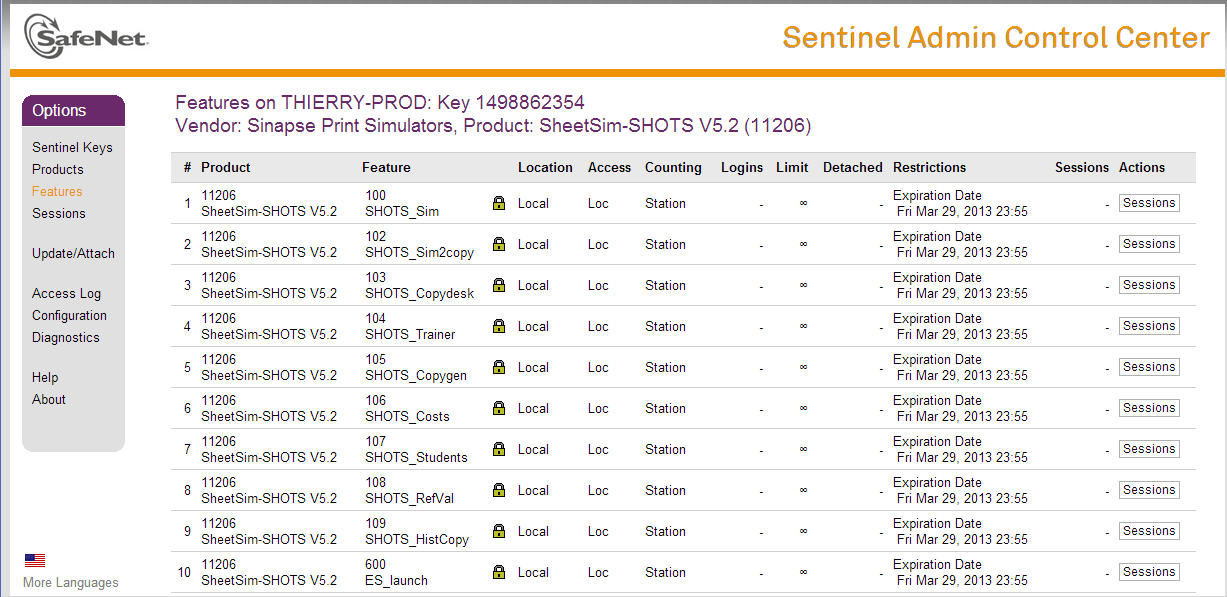
In our example, SHOTS is limited until Friday, 29 March 2013 and will require activation again after that date
SERVER MANAGEMENT
From the ACC web-based interface you can display how many computers are using simulators.
![]() If you click on “Sessions” you will display on which computer the simulator is running.
If you click on “Sessions” you will display on which computer the simulator is running.
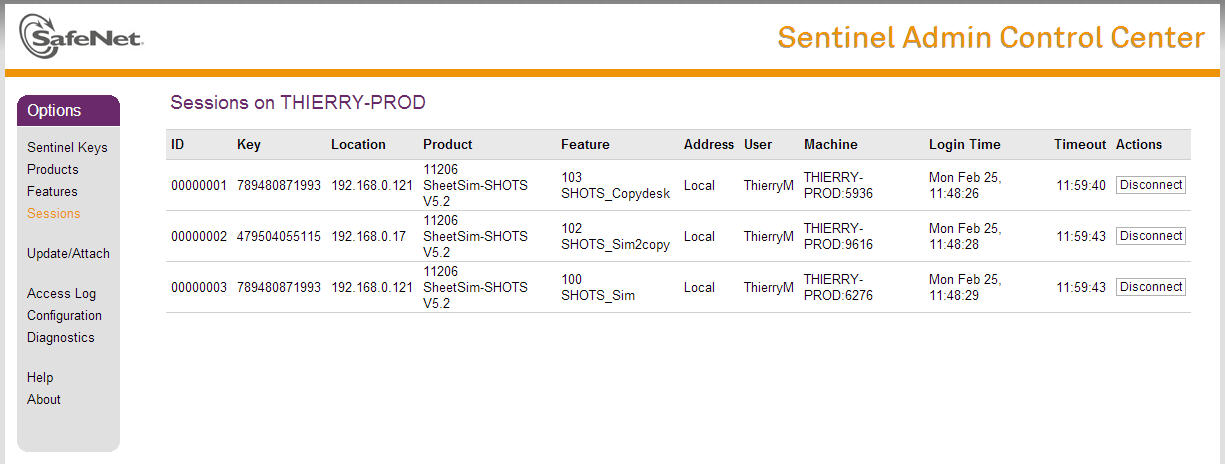
![]() In the example below, 6 sessions are open on the server (it doesn’t mean that 6 simulators licenses are running because more than one session can be used by a given computer to run a simulator)
In the example below, 6 sessions are open on the server (it doesn’t mean that 6 simulators licenses are running because more than one session can be used by a given computer to run a simulator)
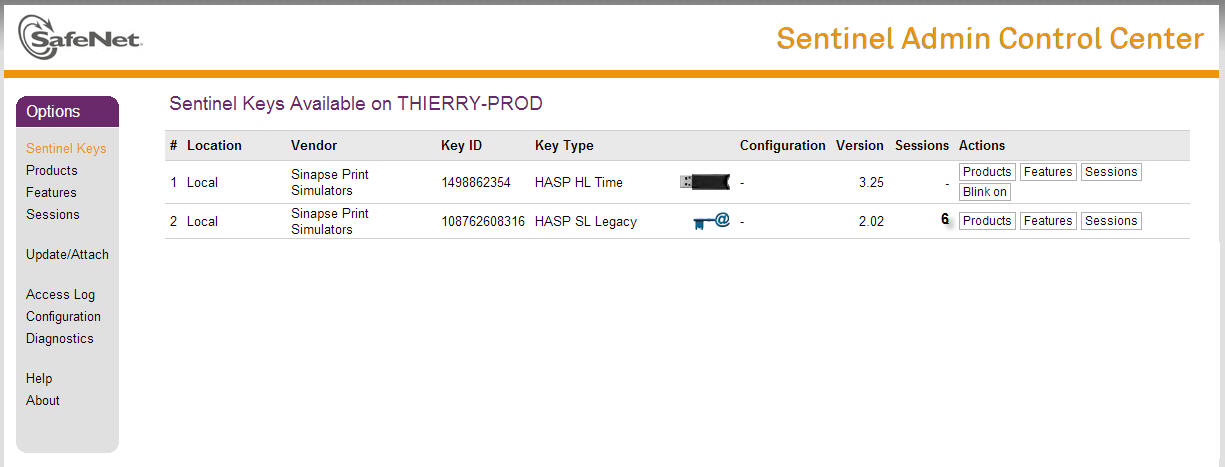
Click on “Features” to display which simulators are used and how many sessions are running for each.
Configuring user settings :
Use this page to specify on which machines a user may access a HASP License Manager
Click on “Show Recent users” to display the list of the users who have recently accessed to HASP License Managers with the machines they used (Hostname).
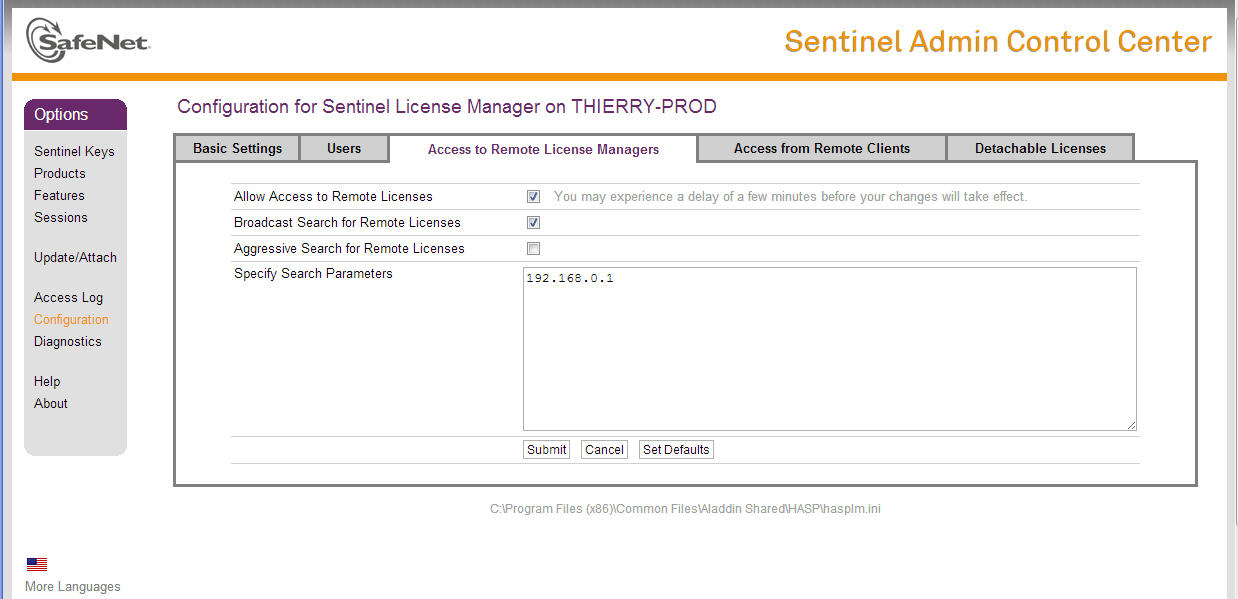
4 - Access to remote License Managers
Use this page to :![]() Define the address of the client machine that hosts the HASP License Manager (to which you want to connect),
Define the address of the client machine that hosts the HASP License Manager (to which you want to connect),
– Define how and where searches for HASP License Manager may be performed.
You must enter information in this field if you did not select the "Allow access to remote licenses" check box, as follows : ![]() Specify data as IP addresses (for example, 10.1.1.17), or machine names (for example, hklm001.ecomp.com).
Specify data as IP addresses (for example, 10.1.1.17), or machine names (for example, hklm001.ecomp.com).

 Demonstrations


